
Mini New York Cheesecake Recipe
Do you feel incredibly driven and excited to experience the lively energy of New York City? Perhaps instead of going out into the busy city, it would be more enjoyable to enjoy a cooking adventure from the comfort of your own home kitchen. I’d like to invite you to come with me as I share my latest creation: a recipe for tiny mini New York cheesecake recipe that are both tasty and easy to eat. With their silky smooth texture and tantalising flavours that pack a powerful punch, these delicious treats are sure to please your guests and satisfy even the pickiest eater. In order to reach our goal without further ado, we need to get an apron right away and start this virtual trip through downtown Manhattan right here at home by discovering new tastes with every whisked egg and lick off of the mixing spoons. Let’s achieve our baking goals together, without leaving the house. Let’s go! Your sweet win is waiting!
New York Cheesecake
Ingredients
Equipment
Method
- Preheat the oven: Preheat your oven to 160°C (325°F). Line a muffin tin or mini cheesecake pan with paper liners.
- Prepare the crust: Crush the digestive biscuits (graham crackers) into fine crumbs using a food processor or by placing them in a sealed plastic bag and crushing them with a rolling pin. Transfer the crumbs to a mixing bowl and stir in the melted butter until well combined. Press the mixture firmly into the bottom of each paper liner, creating a smooth and even crust.
- Make the filling: In a separate mixing bowl, beat the cream cheese and granulated sugar together until smooth and creamy. Add the eggs, one at a time, mixing well after each addition. Stir in the vanilla extract and sour cream until fully incorporated.
- Fill the liners: Spoon the cheesecake filling over the prepared crusts, filling each liner almost to the top.
- Bake: Place the muffin tin or mini cheesecake pan in the preheated oven and bake for about 25 minutes, or until the cheesecakes are set around the edges but slightly jiggly in the center.
- Cool: Remove the cheesecakes from the oven and let them cool in the pan for 10 minutes. Then, transfer them to a wire rack to cool completely.
- Chill: Once cooled, refrigerate the cheesecakes for at least 2 hours, or until firm.
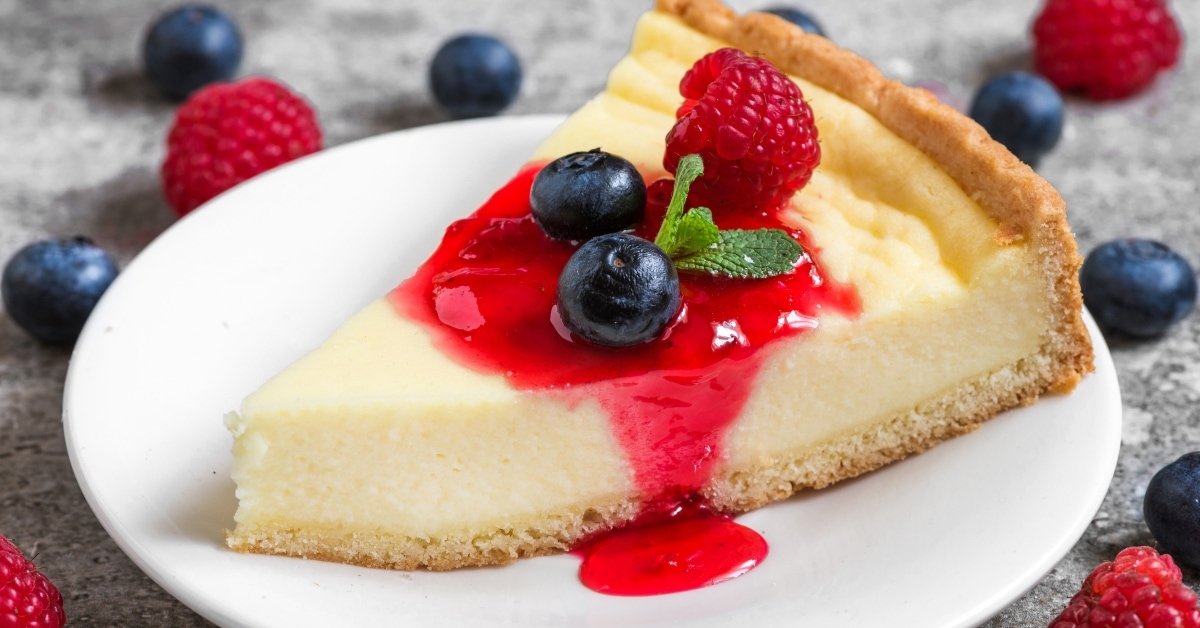
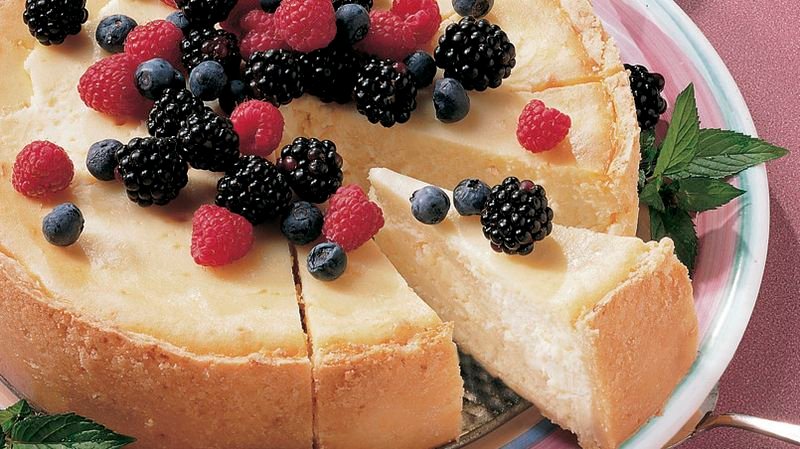
- Serve: Before serving, garnish each cheesecake with fresh berries if desired. Enjoy your delicious Mini New York Cheesecakes!
DETAIL METHOD TO COOK “Mini New York Cheesecake Recipe 2024”
I. Introduction
Hey there, fellow treat lovers! Are you ready to taste New York without leaving your house? I’m so excited to share my newest cooking masterpiece with you today: Small New York Cheesecakes! Let’s go on a tasty adventure as we learn all about this popular dish with a bite-sized twist.
II. Ingredients
Let’s dive into the delicious ingredients that will make our Mini New York Cheesecake recipe a hit:
- For the crust:
- Graham cracker crumbs: Providing that irresistible crunch.
- Butter: Binding the crumbs together.
- Sugar: Adding a touch of sweetness to the crust.
- For the filling:
- Cream cheese: The star of the show, bringing creamy richness.
- Sour cream: Adding tanginess and smoothness.
- Sugar: Sweetening the deal.
- Eggs: Binding everything together.
- Vanilla extract: Infusing that classic flavor we all love.
- For the topping:
- Sour cream: Creating a luscious finish.
- Sugar: Adding sweetness to the topping.
- Vanilla extract: Enhancing the overall flavor profile.
III. Equipment Needed
Let’s make sure we have all the necessary tools to whip up these delightful treats:
- Mini cheesecake pan or muffin tin: Providing the perfect vessel for our cheesecakes.
- Mixing bowls: For combining all the delicious ingredients.
- Electric mixer: Ensuring a smooth and creamy filling.
- Spatula: For scraping down the sides of the bowl and smoothing out the batter.
- Measuring cups and spoons: For precise measurements.
IV. Preparing the Crust
Now, let’s get started by creating the perfect foundation for our cheesecakes:
- Mixing graham cracker crumbs, melted butter, and sugar until well combined.
- Pressing the mixture firmly into the bottom of each cheesecake cavity.
- Baking the crusts until golden and set, ready to hold our creamy filling.
V. Making the Cheesecake Filling
It’s time to whip up that rich and creamy filling:
- Beating the cream cheese until smooth and fluffy.
- Adding sour cream, sugar, eggs, and vanilla extract, and mixing until creamy and well combined.
- Ensuring there are no lumps in the filling for a silky smooth texture.
VI. Filling the Cheesecake Cavities
Let’s fill those crusts with our decadent cheesecake batter:
- Spooning the filling over the baked crusts, filling each cavity to the top.
- Using a spatula to smooth out the tops of the cheesecakes, ensuring a uniform appearance.
VII. Baking the Mini Cheesecakes
Time to let the magic happen in the oven:
- Preheating the oven to the perfect temperature for baking cheesecakes.
- Placing the cheesecake pan in a water bath to ensure even baking and prevent cracking.
- Baking until the edges are set and the centers are slightly jiggly, indicating they’re perfectly cooked.
VIII. Adding the Topping
Let’s give our Mini New York Cheesecakes that final touch of perfection:
- Mixing sour cream, sugar, and vanilla extract until smooth and creamy.
- Spreading the topping over the baked cheesecakes, covering them completely.
- Returning the cheesecakes to the oven for a final bake, allowing the topping to set.
IX. Chilling and Serving
Now it’s time to chill out and enjoy the fruits of our labor:
- Allowing the cheesecakes to cool in the pan before transferring them to the refrigerator.
- Refrigerating until fully chilled, ideally overnight for the best flavor and texture.
- Removing the cheesecakes from the pan and garnishing as desired before serving.
X. Storage and Shelf Life
Let’s make sure our Mini New York Cheesecakes stay fresh:
- Storing leftover cheesecakes in an airtight container in the refrigerator for up to 5 days.
- For longer storage, freezing the cheesecakes in an airtight container for up to 1 month.
- Thawing frozen cheesecakes in the refrigerator before serving, ensuring they retain their creamy texture.
XI. Variations and Customizations
Get creative and make these cheesecakes your own:
- Adding fruit compote or preserves as a topping for a burst of fruity flavor.
- Swirling in chocolate or caramel sauce before baking for an indulgent twist.
- Experimenting with different crusts like chocolate or cookie crumb for added variety.
XII. Troubleshooting Tips
Let’s troubleshoot any potential issues:
- To prevent cracks in the cheesecake, avoid overmixing the batter and baking at too high a temperature.
- Ensure the cheesecakes are fully cooled before adding the topping to prevent it from melting.
- If you’re making gluten-free Mini New York Cheesecakes, be sure to use certified gluten-free ingredients to avoid cross-contamination.
XIV. Conclusion
So there you have it, everyone! This is my complete guide to making the tastiest Mini New York Cheesecakes you’ve ever had. I hope this makes you want to make some of these tasty treats and give them to your family and friends. Have fun baking until next time!
Keep the deliciousness going with these similar treats :
- Key Lime Pie Recipe Without Condensed Milk
- Brownie Condensed Milk recipe
- Parmesan Encrusted Chicken Recipe
- Crab Omelet Recipe
- Bacon Egg and Cheese Recipe
- Pancake Recipe No Milk
- Mini Cinnamon Rolls Recipe
FAQs
- Can I use low-fat cream cheese for the Mini New York Cheesecake Recipe?
- In this recipe, you can use low-fat cream cheese instead of regular cream cheese. Keep in mind, though, that it might make the structure and flavour a little lighter.
- Can I make gluten-free Mini New York Cheesecakes?
- Of course! If you want to make gluten-free Mini New York Cheesecakes, all you need is gluten-free graham cracker crumbs or a gluten-free cookie crumb top.
- Can I substitute Greek yogurt for sour cream in the filling?
- While Greek yogurt can be used as a substitute for sour cream in a pinch, it may alter the texture and tanginess of the cheesecake filling slightly. Experiment with small batches to find the perfect balance.
- How long do Mini New York Cheesecakes need to chill before serving?
- Mini New York Cheesecakes should be put in the fridge for at least 4 hours, or better yet, overnight, so they can fully set and develop their tastes.
- Can I freeze Mini New York Cheesecakes for later enjoyment?
- Little New York cheesecakes can be frozen for up to a month. Before putting the cheesecakes in a sealed container or freezer bag, wrap each one separately in plastic wrap and aluminum foil.
- Can I add fruit toppings to my Mini New York Cheesecakes?
- Of course! Putting strawberry, blueberry, or raspberry sauce on top of your Mini New York Cheesecakes can give them a new taste and a splash of color.
- How can I prevent cracks from forming on the surface of my Mini New York Cheesecakes?
- Do not overmix the batter and do not bake the cheesecakes for too long to avoid cracks. You can also bake the cheesecakes in a water bath to keep the temperature even and keep them from cracking.
- Can I make Mini New York Cheesecakes ahead of time for a special occasion?
- Yes, you can make Mini New York Cheesecakes ahead of time! They can be made up to two days ahead of time and kept in the fridge until you’re ready to serve.
- Can I use a different type of crust for my Mini New York Cheesecakes?
- Of course! New York cheesecakes usually have a crust made of graham cracker crumbs, but you can try other crusts, like cookie crumbs or even a gluten-free crust, to make things more interesting.
- How can I ensure my Mini New York Cheesecakes turn out perfectly creamy?
- Before you add the other ingredients, make sure you beat the cream cheese until it is smooth and fluffy. Also, don’t mix the batter too much after adding the eggs; doing so can make it thick.