Ina Garten’s Banana Bread Recipe

Ina Garten’s Banana Bread Recipe

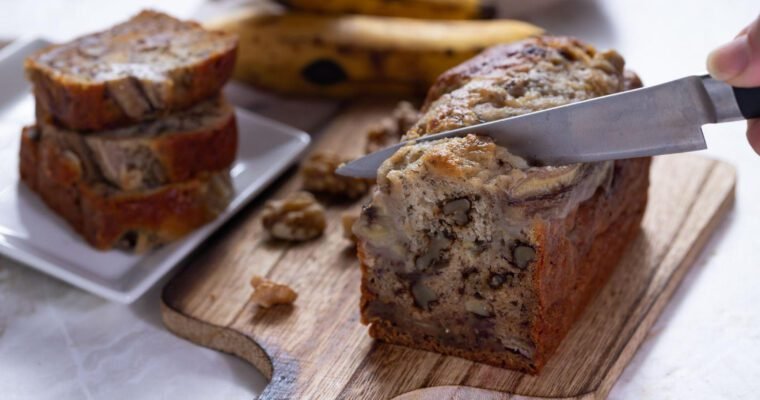
Good morning, dear food fans! It gives me great pleasure to share a beloved standard recipe for banana bread that comes straight from the kitchen of Ina Garten. If you want deliciously soft bread that is packed full of banana flavor and just the right Read more

Chocolate Fudge Frosting Recipe

Chocolate Fudge Frosting Recipe

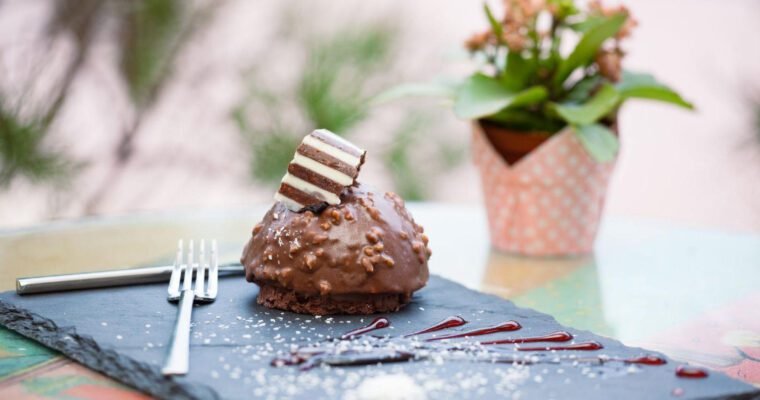
Title: Decadent Chocolate Fudge Frosting Recipe

As the aroma of rich cocoa filled the kitchen, Lucy couldn’t help but feel a rush of excitement. It was the moment she had been waiting for – the completion of her signature chocolate fudge frosting. With each step carefully followed, she knew that the end result would be nothing short of divine.

Ingredients:

1 cup unsalted butter, softened
2 cups powdered sugar, sifted
1/2 cup unsweetened cocoa powder
1/4 cup whole milk
1 teaspoon vanilla extract
Pinch of salt
Instructions:

In a large mixing bowl, beat the softened butter until creamy and smooth. Gradually add the sifted powdered sugar, cocoa powder, and salt, mixing well after each addition.
Pour in the milk and vanilla extract, continuing to beat the mixture until it reaches a smooth and spreadable consistency. Adjust the amount of milk as needed to achieve the desired thickness.
Once the frosting is smooth and glossy, it’s time to frost your favorite cake or cupcakes. Spread generously over cooled baked goods, swirling with a spatula for an elegant finish.
For an extra touch of indulgence, sprinkle with chocolate shavings or drizzle with melted chocolate before serving.
Store any leftover frosting in an airtight container in the refrigerator for up to one week. Before using, let it come to room temperature and give it a quick stir to restore its creamy texture.
With each bite of the decadent chocolate fudge frosting, you’ll be transported to a world of pure bliss. Indulge your sweet tooth and delight your taste buds with this irresistible treat.

Pecan Cream Pie Recipe

Pecan Cream Pie Recipe

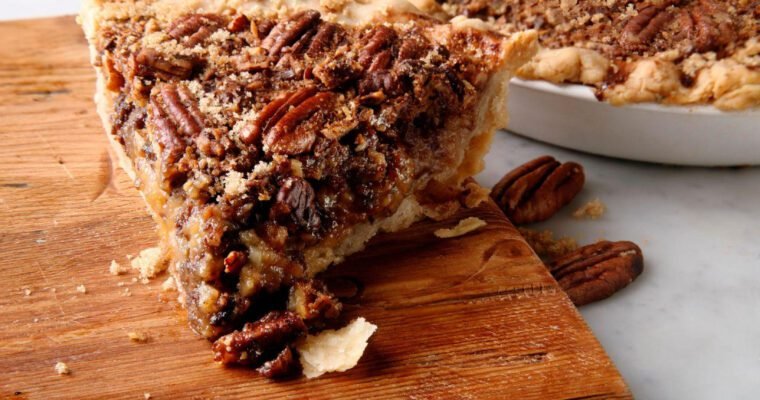
Title: Heavenly Pecan Cream Pie Recipe

As the autumn breeze whispered through the trees, Sarah found herself drawn to the warmth of her kitchen. It was pie-making season, and there was no better way to celebrate the harvest than with her beloved pecan cream pie. With a twinkle in her eye and a flutter of excitement in her heart, she began gathering the ingredients for this decadent dessert.

Ingredients:

For the Crust:

1 1/4 cups all-purpose flour
1/2 teaspoon salt
1/2 cup unsalted butter, cold and cubed
3-4 tablespoons ice water
For the Filling:

1 cup granulated sugar
1 cup light corn syrup
1/4 cup unsalted butter, melted
3 large eggs, beaten
1 teaspoon vanilla extract
1 1/2 cups pecan halves
For the Whipped Cream Topping:

1 cup heavy cream
2 tablespoons powdered sugar
1 teaspoon vanilla extract
Instructions:

To make the crust, in a large mixing bowl, combine the flour and salt. Add the cold cubed butter and use a pastry cutter or fork to cut the butter into the flour mixture until it resembles coarse crumbs. Gradually add the ice water, 1 tablespoon at a time, mixing until the dough comes together. Shape the dough into a disk, wrap it in plastic wrap, and refrigerate for at least 30 minutes.
Preheat your oven to 350°F (175°C). Roll out the chilled dough on a floured surface into a 12-inch circle. Carefully transfer the dough to a 9-inch pie dish, pressing it gently into the bottom and sides. Trim any excess dough and crimp the edges as desired. Place the pie dish in the refrigerator while you prepare the filling.
In a medium mixing bowl, whisk together the granulated sugar, corn syrup, melted butter, beaten eggs, and vanilla extract until well combined. Stir in the pecan halves until evenly coated.
Pour the pecan filling into the prepared pie crust. Place the pie dish on a baking sheet to catch any drips and bake in the preheated oven for 45-50 minutes, or until the filling is set and the crust is golden brown. If the crust begins to brown too quickly, cover the edges loosely with aluminum foil.
Allow the pie to cool completely on a wire rack before serving. While the pie cools, prepare the whipped cream topping. In a chilled mixing bowl, beat the heavy cream, powdered sugar, and vanilla extract until stiff peaks form.
Serve slices of the pecan cream pie with generous dollops of whipped cream on top. Enjoy the rich, nutty flavor and velvety texture of this irresistible autumn dessert.
With each forkful of pecan cream pie, you’ll savor the perfect balance of sweet and nutty flavors, making it the ultimate indulgence for any occasion.

Mini Carrot Cake Recipe

Mini Carrot Cake Recipe

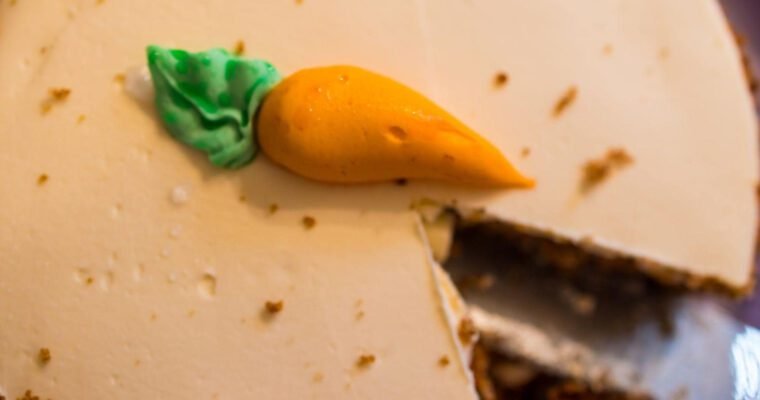
Title: Top 10 Recipes: Delicious Mini Carrot Cake Recipe

In the world of desserts, few treats evoke the cozy comforts of home quite like a carrot cake. With its moist crumb, delicate spice, and creamy frosting, it’s a perennial favorite that never fails to satisfy. And when it comes to carrot cakes, mini versions offer all the flavor in adorable, bite-sized packages. Here’s a top 10 recipe for crafting these delectable mini carrot cakes that are sure to steal the show at any gathering.

Ingredients:

For the Mini Carrot Cakes:

1 cup all-purpose flour
1/2 teaspoon baking powder
1/2 teaspoon baking soda
1/2 teaspoon ground cinnamon
1/4 teaspoon ground nutmeg
1/4 teaspoon ground ginger
1/4 teaspoon salt
1/2 cup granulated sugar
1/4 cup brown sugar, packed
1/2 cup vegetable oil
2 large eggs
1 teaspoon vanilla extract
1 cup finely grated carrots
1/4 cup crushed pineapple, drained
1/4 cup chopped pecans or walnuts (optional)
For the Cream Cheese Frosting:

4 oz cream cheese, softened
2 tablespoons unsalted butter, softened
1 cup powdered sugar
1/2 teaspoon vanilla extract
Instructions:

Preheat your oven to 350°F (175°C). Grease and flour a mini muffin tin or line it with paper liners.
In a medium mixing bowl, sift together the flour, baking powder, baking soda, cinnamon, nutmeg, ginger, and salt. Set aside.
In a separate large mixing bowl, whisk together the granulated sugar, brown sugar, vegetable oil, eggs, and vanilla extract until smooth and well combined.
Gradually add the dry ingredients to the wet ingredients, mixing until just incorporated. Be careful not to overmix.
Fold in the grated carrots, crushed pineapple, and chopped nuts (if using) until evenly distributed throughout the batter.
Spoon the batter into the prepared mini muffin tin, filling each cavity about 2/3 full.
Bake in the preheated oven for 12-15 minutes, or until a toothpick inserted into the center of a mini cake comes out clean.
Allow the mini carrot cakes to cool in the pan for 5 minutes before transferring them to a wire rack to cool completely.
While the cakes cool, prepare the cream cheese frosting. In a mixing bowl, beat the softened cream cheese and butter until smooth and creamy. Gradually add the powdered sugar and vanilla extract, beating until the frosting is light and fluffy.
Once the mini carrot cakes are completely cooled, pipe or spread the cream cheese frosting onto the tops of each cake.
Optional: Garnish with additional chopped nuts or a sprinkle of cinnamon for an extra touch of flavor and decoration.
Serve and enjoy these irresistible mini carrot cakes with friends and family, and watch as they disappear in no time!
With their tender crumb, fragrant spices, and creamy frosting, these mini carrot cakes are sure to be a hit at any gathering. Perfect for parties, potlucks, or simply indulging in a sweet treat, they capture the essence of homemade goodness in every bite.

Key Lime Pie Recipe Without Condensed Milk

Key Lime Pie Recipe Without Condensed Milk

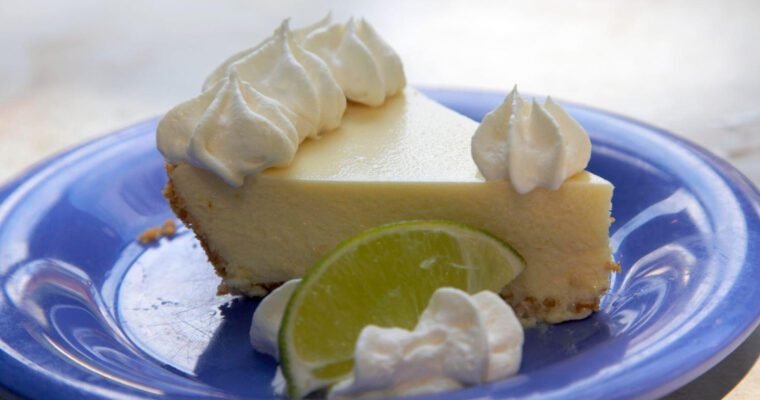
Title: A Slice of Sunshine: Key Lime Pie Recipe

There’s something enchanting about the tangy sweetness of a Key lime pie. Each bite is a burst of sunshine, a tantalizing dance of citrus and cream that transports you to the shores of Florida with its refreshing flavors. Whether enjoyed on a warm summer day or as a delightful end to a cozy dinner, Key lime pie is a dessert that never fails to delight the taste buds. Here’s a recipe to help you bring a slice of tropical paradise into your own kitchen.

Ingredients:

For the Graham Cracker Crust:

1 1/2 cups graham cracker crumbs
1/4 cup granulated sugar
6 tablespoons unsalted butter, melted
For the Key Lime Filling:

4 large egg yolks
1 can (14 ounces) sweetened condensed milk
1/2 cup Key lime juice (freshly squeezed if possible)
1 tablespoon Key lime zest (from about 4-5 Key limes)
For the Whipped Cream Topping:

1 cup heavy cream
2 tablespoons powdered sugar
1 teaspoon vanilla extract
Instructions:

Preheat your oven to 350°F (175°C). Grease a 9-inch pie dish and set aside.
In a medium mixing bowl, combine the graham cracker crumbs, granulated sugar, and melted butter. Mix until the crumbs are evenly coated and resemble wet sand.
Press the mixture firmly and evenly into the bottom and up the sides of the prepared pie dish to form the crust. Use the back of a spoon or the bottom of a glass to compact the crumbs.
Bake the crust in the preheated oven for 10 minutes, or until lightly golden brown. Remove from the oven and let it cool slightly while you prepare the filling.
In a large mixing bowl, whisk together the egg yolks and sweetened condensed milk until smooth and well combined.
Gradually add the Key lime juice and zest to the egg yolk mixture, stirring until smooth and creamy.
Pour the Key lime filling into the cooled graham cracker crust, spreading it evenly with a spatula.
Return the pie to the oven and bake for 15 minutes, or until the filling is set but still slightly jiggly in the center.
Remove the pie from the oven and let it cool to room temperature on a wire rack. Once cooled, refrigerate the pie for at least 2 hours, or until chilled and set.
While the pie chills, prepare the whipped cream topping. In a chilled mixing bowl, beat the heavy cream, powdered sugar, and vanilla extract until stiff peaks form.
Just before serving, spread the whipped cream over the chilled Key lime pie, swirling it decoratively with a spoon or spatula.
Optional: Garnish the pie with additional Key lime zest or slices for a vibrant finishing touch.
Slice and serve this heavenly Key lime pie to eager guests, and bask in the glow of their delighted smiles as they savor each tangy, creamy bite.
With its zesty filling, buttery crust, and billowy whipped cream topping, this Key lime pie is a true celebration of flavor and texture. So go ahead, treat yourself to a taste of the tropics, and let this iconic dessert whisk you away on a deliciously sunny escape.

Brownie Condensed Milk recipe

Brownie Condensed Milk recipe

Title: Indulge in Decadence: Ultimate 10-Step Brownie Condensed Milk Recipe

For those moments when only a rich, fudgy brownie will do, this ultimate recipe infused with sweetened condensed milk is the answer to your cravings. With its dense texture, intense chocolate flavor, and irresistible gooeyness, these brownies are a sweet treat that will elevate any occasion. Follow these 10 simple steps to create a batch of indulgent brownies that will leave everyone clamoring for more.

Ingredients:

1 cup (2 sticks) unsalted butter
1 cup granulated sugar
1 cup unsweetened cocoa powder
4 large eggs
1 teaspoon vanilla extract
1/2 teaspoon salt
1 cup all-purpose flour
1 can (14 ounces) sweetened condensed milk
Instructions:

Preheat your oven to 350°F (175°C). Grease and line a 9×13-inch baking pan with parchment paper, leaving an overhang on the sides for easy removal.
In a medium saucepan, melt the butter over low heat. Once melted, remove from heat and stir in the granulated sugar until well combined.
Add the unsweetened cocoa powder to the butter and sugar mixture, stirring until smooth and glossy.
In a separate mixing bowl, lightly beat the eggs with the vanilla extract. Gradually add the beaten eggs to the cocoa mixture, whisking constantly until fully incorporated.
Stir in the salt and flour until just combined, being careful not to overmix. The batter will be thick and luscious.
Pour half of the brownie batter into the prepared baking pan, spreading it evenly with a spatula.
Drizzle half of the sweetened condensed milk over the brownie batter in the pan, creating a generous swirl pattern with a knife or skewer.
Carefully spoon the remaining brownie batter over the condensed milk layer, spreading it evenly to cover.
Repeat the process by drizzling the remaining sweetened condensed milk over the top layer of brownie batter, creating another beautiful swirl pattern.
Bake the brownies in the preheated oven for 25-30 minutes, or until a toothpick inserted into the center comes out with a few moist crumbs attached.
Remove the brownies from the oven and let them cool completely in the pan on a wire rack. Once cooled, lift the brownies out of the pan using the parchment paper overhang, and slice into squares.
Serve these decadent brownies as a sweet finale to any meal, or enjoy them with a glass of cold milk for a truly indulgent treat.
With their luscious texture, intense chocolate flavor, and irresistible swirls of sweetened condensed milk, these ultimate brownies are guaranteed to satisfy even the most discerning sweet tooth. So go ahead, indulge in a bite (or two) of pure chocolate bliss, and savor every moment of sweet indulgence.

Red Velvet Cookie Cake Recipe

Red Velvet Cookie Cake Recipe

Hello, people who love sweets and tasty treats! Today I’m excited to share a delicious recipe for red velvet cookie cake, which blends two well-known favourites in a way that makes a great meal. This beautiful Red Velvet Cookie Cake is the perfect treat for Read more

Apple Pie Focaccia Recipe

Apple Pie Focaccia Recipe

Would you say you’re ready to step up your candy game by adding a tasty variety? That’s great! I’d love for you to try my own special dish. Apple Pie Focaccia is a one-of-a-kind treat that combines two different treats: light and airy focaccias stuffed Read more

Mini New York Cheesecake Recipe

Mini New York Cheesecake Recipe

Do you feel incredibly driven and excited to experience the lively energy of New York City? Perhaps instead of going out into the busy city, it would be more enjoyable to enjoy a cooking adventure from the comfort of your own home kitchen. I’d like Read more

Chocolate Chip Cookies Without Baking Soda

Chocolate Chip Cookies Without Baking Soda

Are you ready to start a fun journey that will take you on an adventure through the world of cookies? It would be our pleasure to share with you our improved version of the classic and beloved Chocolate Chip Cookies without baking soda that don’t Read more